DIY Vinyl Fence Installation: A Step-By-Step Guide for Seattle Homeowners
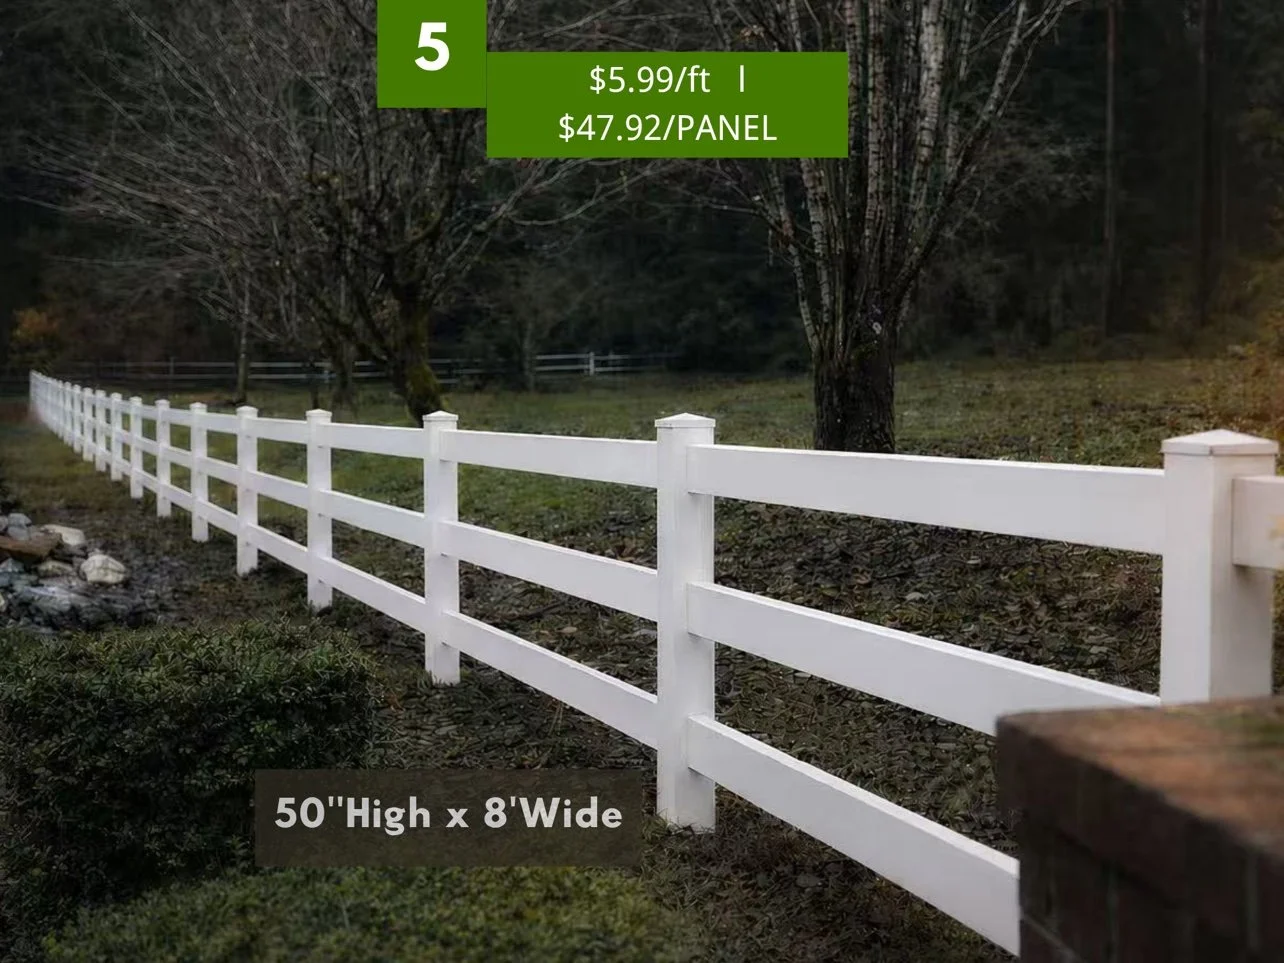
Vinyl fencing is one of the most DIY-friendly home improvement projects out there. The panels are engineered to fit together — no nailing individual pickets, no staining afterward. Here's how to do it right, step by step.
Before You Dig: The Boring (But Critical) Steps
- Call 811 first. Washington's free utility-locate service marks buried gas, electric, and water lines. It's the law — call at least 2 business days before you dig.
- Check your property lines. A professional survey is cheap insurance against building on your neighbor's land.
- Know the height rules. In Seattle residential zones, fences up to 6 feet generally don't need a permit. Taller than that — or in a front yard — check with the city.
- Talk to your HOA. Many Seattle-area HOAs have rules on fence style, color, and height. Get written approval before you buy materials.
- Talk to your neighbors. Not legally required in most cases, but a heads-up prevents 90% of fence disputes.
Tools and Materials
Tools: post-hole digger or rented auger (~$75/day), 4-foot level, string line and stakes, tape measure, circular saw or miter saw, rubber mallet, wheelbarrow, drill/driver.
Materials per 8-foot section (Smart Fencing kit): 1 post (5"×5"), 1 post cap, top rail, bottom rail, 8 tongue-and-groove boards, 2 U-channels, 1 aluminum reinforcement insert — plus 2–3 bags of concrete mix and gravel per post.
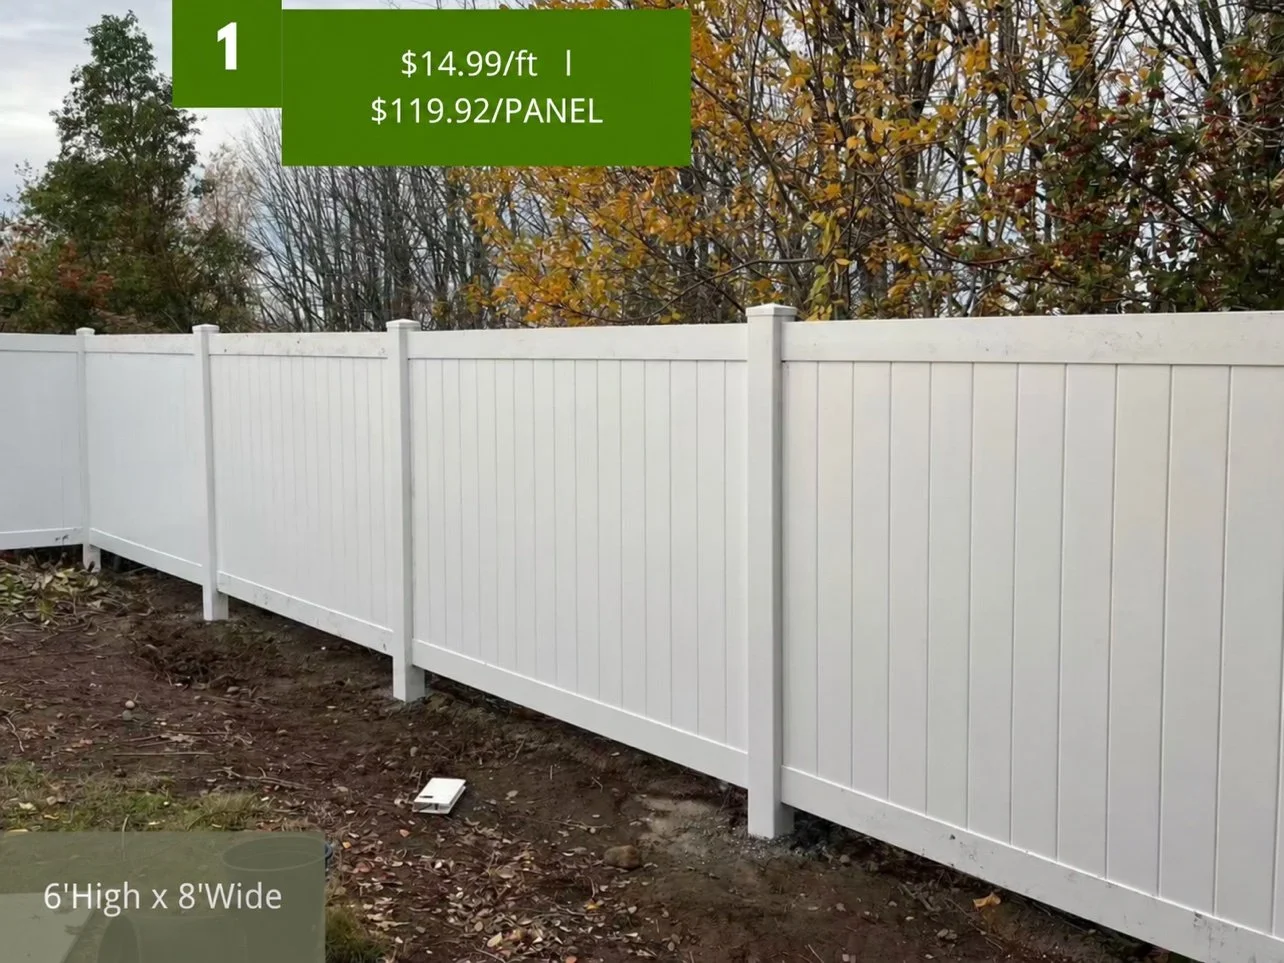
Step 1: Plan Your Layout
Measure your total run and divide by 8 feet to get your panel count. Mark post locations with stakes and run a string line between them — this is your fence line, and every post must sit on it. Mark gate openings now; gates need their own plan (and beefier posts).
Pro tip: Buy 1–2 extra panels. Miscuts happen, and matching dye lots later is a pain.
Step 2: Set the Posts
This is the step that determines whether your fence lasts 30 years or 3. Take your time here.
- Dig holes deep enough for your local frost line and soil conditions, about 10–12 inches wide.
- Add 4–6 inches of gravel at the bottom for drainage — critical in our wet soil.
- Set the post, check plumb on two sides with your level, and brace it.
- Pour concrete, sloping the top away from the post so water runs off.
- Let the concrete cure fully before hanging any panels. Don't rush this.
Keep post tops at a consistent height using your string line — or plan to trim later.
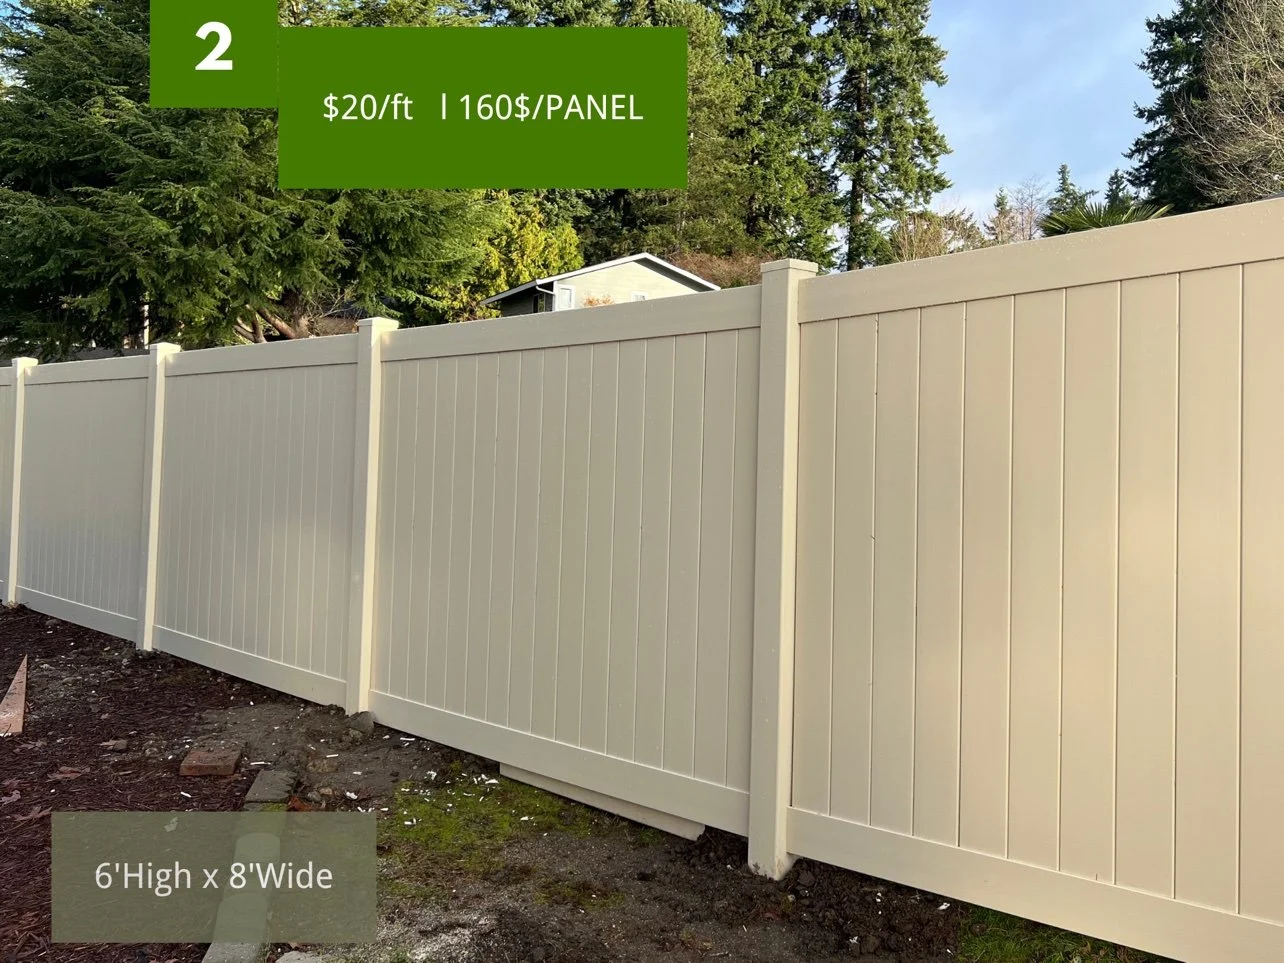
Step 3: Install the Rails and Panels
- Slide the bottom rail between the posts.
- Insert the U-channels on each post — these frame the boards neatly.
- Slide the tongue-and-groove boards in one at a time, starting from one end. They should fit snugly without forcing.
- Drop in the aluminum reinforcement insert (this is what keeps long spans from sagging).
- Set the top rail, then press on the post cap.
Work one section at a time, checking level as you go. On slopes, step each section down rather than trying to follow the grade — it looks cleaner and panels stay level.
Step 4: Gates and Finishing
Hang gates last, on posts set deeper with extra concrete. Most vinyl gates need a steel frame insert to prevent sagging — don't skip it. Adjust hinges so the gate swings freely with even gaps.
Walk the full run: caps seated, rails level, no boards bowed. Touch up any scuffs with a vinyl cleaner.
Common DIY Mistakes to Avoid
- Skipping the 811 call. Hitting a gas line turns a weekend project into a very bad day.
- Shallow posts. Posts that aren't set deep enough will lean within a couple of winters.
- Rushing the concrete. Hanging panels on green concrete is the #1 cause of wavy fences.
- Forgetting the slope. Trying to rack rigid vinyl panels on a hill looks terrible — step them instead.
- No expansion gaps. Vinyl expands in heat. Leave the small gaps the manufacturer specifies, especially on south-facing runs.
When to Call a Pro Instead
DIY saves roughly $2,700–$3,000 in labor on a typical 150-foot backyard — but call a professional if your lot is steeply sloped, you hit rock you can't dig through, the run is over 200 feet, or you just don't have the weekends. There's no shame in it — a pro crew can get it done.
Smart Fencing sells complete factory-direct vinyl fence kits with local Seattle-area inventory — every panel ships with post, cap, rails, boards, channels, and aluminum insert included.
Shop styles and pricing or book a free consultation — we also offer professional installation.